
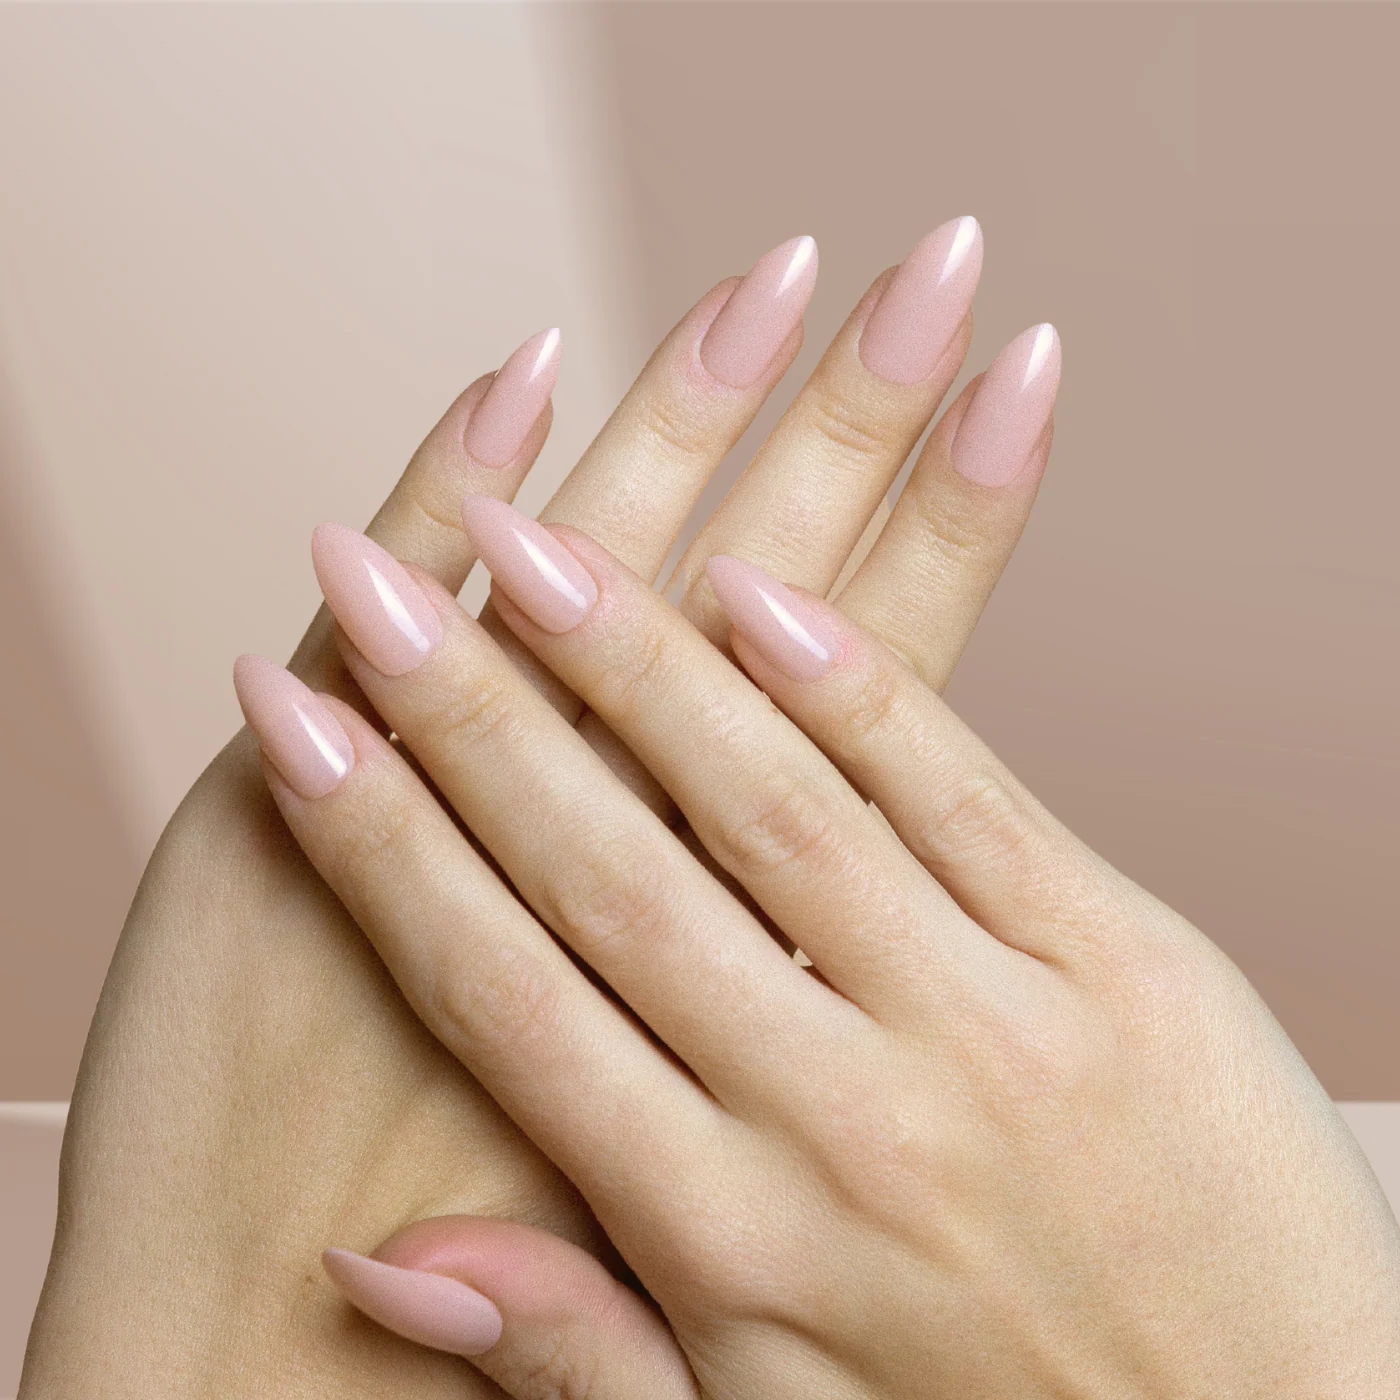
Applying flawless press-on nails can give you a salon-quality manicure at home without the need for acrylics or gel. Here’s a step-by-step guide to help you achieve a flawless press-on nail manicure:
Materials Needed:
- Press-on nails kit
- Nail file
- Cuticle pusher
- Nail glue or adhesive tabs
- Nail polish (optional)
- Nail polish remover (for cleaning natural nails)
- Cotton pads or swabs
Steps:
- Prepare Your Natural Nails:
- Start with clean, dry nails. Remove any existing nail polish with nail polish remover.
- Shape and Trim Natural Nails:
- Use a nail file to shape your natural nails. Trim them if necessary, ensuring they are the desired length and shape.
- Push Back Cuticles:
- Gently push back your cuticles using a cuticle pusher. This helps create a clean canvas for the press-on nails.
- Select Press-On Nails:
- Choose press-on nails that match the size and shape of your natural nails. Lay them out in the order you’ll be applying them.
- Buff the Press-On Nails (Optional):
- Lightly buff the surface of the press-on nails with a nail buffer. This helps the adhesive bond better, ensuring a longer-lasting manicure.
- Apply Adhesive:
- Choose between nail glue and adhesive tabs. Apply a small amount of glue to the back of the press-on nail, or affix the adhesive tab.
- Place Press-On Nails:
- Align the press-on nail with your natural nail, making sure it sits flush against the cuticle. Press down firmly for a few seconds to allow the adhesive to bond.
- Repeat the Process:
- Continue applying press-on nails to the rest of your fingers, working from one hand to the other. Take your time to ensure proper alignment.
- Shape Press-On Nails:
- Use a nail file to shape the press-on nails to your desired length and shape. This step helps achieve a more customized and natural look.
- Optional: Apply Nail Polish:
- If you want to add color or design, you can apply nail polish to the press-on nails. Allow it to dry completely before proceeding.
- Finishing Touches:
- Clean up any excess glue or polish around the edges of your nails using a cotton swab or pad dipped in nail polish remover.
- Hydrate Cuticles:
- Apply cuticle oil or moisturizer to nourish your cuticles and the skin around your nails.
Tips:
- Read and follow the instructions provided with your press-on nails kit.
- Ensure your natural nails are oil-free before applying press-on nails to promote better adhesion.
- If using adhesive tabs, ensure they are centered on your natural nails for an even application.
- Press firmly but avoid excessive pressure to prevent damaging the press-on nails or your natural nails.
With a bit of practice, you can achieve a flawless and professional-looking press-on nail manicure at home.